How to Repair Vinyl Siding (Step-by-Step for Homeowners)
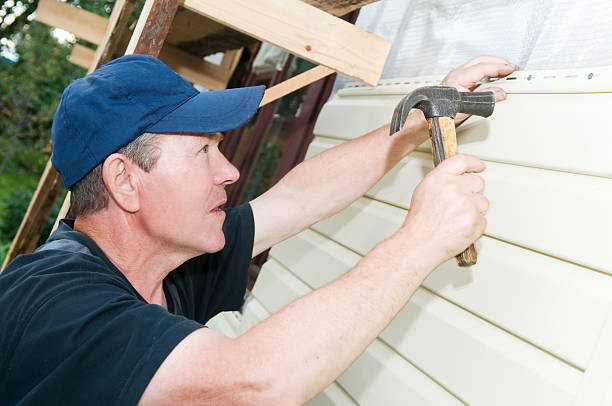
Vinyl siding is durable and low maintenance, but even the best materials can crack, pop loose, or suffer storm damage over time. The good news? Many siding repairs are well within reach for the average DIYer. Whether you’re dealing with a small hole, a warped panel, or a loose corner, this guide will walk you through how to repair vinyl siding—safely and effectively.
Serving North and Central Texas, K&M Roofing and Construction offers expert exterior renovation services, including siding repair and replacement. If the damage is beyond DIY, let us take care of it.
Why Vinyl Siding Repair Matters
Vinyl siding isn’t just about looks—it’s your home’s first line of defense against the elements. When cracks or gaps form, water can seep behind panels and lead to rot, mold, or insulation damage. Damaged siding can also:
- Lower your home’s energy efficiency
- Invite pest intrusion
- Compromise curb appeal
- Decrease your home’s value
Acting fast can save you from costly repairs down the road.
Tools & Materials You’ll Need
Basic Tools:
- Siding removal tool (zip tool)
- Utility knife
- Tin snips
- Caulking gun
- Putty knife
- Paint scraper
- Hammer and nails or drill and screws
Materials:
- Matching vinyl siding panel
- Exterior-grade caulk or vinyl patching compound
- House wrap tape (for minor repairs)
- Exterior primer and paint (color-matched to siding)
- Safety gloves and glasses
💡 Tip: If you can’t find a perfect color match, take a piece of your siding to your local hardware store. They can usually mix a vinyl-safe paint to match.
How to Fix Small Holes or Cracks in Vinyl Siding
Minor damage under 1 inch wide can often be patched instead of replaced.
Step-by-Step:
- Prep the Area
- Use a scraper to remove burrs or debris.
- Sand lightly with 220-grit paper to de-gloss the surface.
- Wipe clean with a microfiber cloth.
- Use a scraper to remove burrs or debris.
- Apply Patch Compound
- For holes: Use a vinyl repair filler like DAP® Platinum Patch.
- Overfill slightly to account for shrinkage.
- For holes: Use a vinyl repair filler like DAP® Platinum Patch.
- Smooth & Dry
- Wet your plastic putty knife and level the surface.
- Let dry for 2–4 hours.
- Wet your plastic putty knife and level the surface.
- Sand and Prime
- Smooth with 100- then 220-grit sandpaper.
- Apply a vinyl-safe primer (e.g., Zinsser Bulls Eye 1-2-3®).
- Smooth with 100- then 220-grit sandpaper.
- Paint to Match
- Use acrylic paint rated for vinyl.
- Avoid dark colors on light siding—they can cause warping.
- Use acrylic paint rated for vinyl.
How to Replace a Damaged Vinyl Siding Panel
If a panel is cracked, melted, or won’t lock into place, it’s best to replace it.
Step-by-Step:
- Loosen Surrounding Siding
- Use a zip tool to unhook the panel above the damaged one.
- Use a zip tool to unhook the panel above the damaged one.
- Remove Fasteners
- Pry out nails or screws holding the panel in place.
- Pry out nails or screws holding the panel in place.
- Cut and Prep the Replacement
- Use tin snips or a utility knife to cut the new piece.
- Paint it to match, if necessary.
- Use tin snips or a utility knife to cut the new piece.
- Install the Panel
- Hook the bottom of the panel into the one below it.
- Nail the top edge loosely—vinyl needs to expand and contract.
- Hook the bottom of the panel into the one below it.
- Reattach the Top Panel
- Use the zip tool to snap it back into place.
- Use the zip tool to snap it back into place.
📍 Pro Tip: Don’t glue panels down. Vinyl siding is designed to float. Tight nails or adhesives can cause buckling during temperature swings.
Fixing Loose or Popped-Out Siding
A piece that’s come unlocked can usually be snapped back in place—no glue needed.
- Use a Zip Tool
- Slide it under the lip of the loose panel and pull downward.
- Slide it under the lip of the loose panel and pull downward.
- Press and Snap
- Line up the edge and firmly press until it clicks in.
- Line up the edge and firmly press until it clicks in.
- No Luck?
- Consider using elastomeric sealant like OSI Quad as a temporary hold—but not as a substitute for proper installation.
- Consider using elastomeric sealant like OSI Quad as a temporary hold—but not as a substitute for proper installation.
Repairing Corner Trim on Vinyl Siding
Corner post trim is trickier. Minor damage can be patched; extensive damage may require full replacement.
- Cut Away the Damaged Area
- Use a utility knife to remove the damaged face along the bend.
- Use a utility knife to remove the damaged face along the bend.
- Trim and Fit the New Post
- Cut a new corner trim section and test the fit.
- Slide into place and fasten carefully.
- Cut a new corner trim section and test the fit.
Not sure if you can tackle this yourself? Contact our team to schedule a professional inspection.
When to Call a Pro
Some repairs are better left to experienced hands. Call in a professional if:
- The damage is extensive or hard to reach
- Matching the siding is impossible
- You see signs of water damage underneath
- The siding was improperly installed to begin with
Schedule a Free Siding Inspection to get expert advice and a quote with no obligation.
Conclusion: Don’t Let Small Damage Turn into Big Problems
Vinyl siding is tough, but it’s not invincible. If you’ve got a crack, hole, or loose panel—fixing it now will protect your home, your wallet, and your peace of mind. With a few tools and the right technique, most homeowners can handle small repairs themselves.
But if the job’s too big, the color doesn’t match, or you just want it done right the first time…
👉 Book Your Free Estimate with K&M Roofing Today
Let our experts restore your siding, boost your curb appeal, and help your home stay strong year-round.

You can trust us to help you







The K&M Insider
Stay informed with the latest in roofing, insurance restoration, and exterior home improvements. From protecting your home after a storm to enhancing your outdoor space, our expert guides and industry insights help you make the best decisions for your property.
Contact us
Please reach out to us with any questions regarding the services we offer.
Office
Business Hours
Roofing Service FAQs – Everything You Need to Know
We understand that a full roof replacement is a significant investment for any property owner. However, delaying necessary repairs can lead to severe structural damage, costly disruptions, and even code violations. We offer flexible financing options tailored for your property, ensuring you get the protection you need without straining your budget.
In some cases, a repair may be a short-term solution, but hidden issues like trapped moisture, weakened insulation, and undetected leaks can worsen over time—leading to costly interior damage and disruptions. That’s why we conduct thermal drone inspections and moisture mapping to assess whether a repair is viable or if a full replacement is necessary. If a replacement is needed, we’ll help you navigate the insurance process and work with your adjuster at every step.
Yes, we provide tailored financing solutions for all types of properties. Whether insurance covers part of your project or you need additional financial flexibility, we offer financing options to help you budget effectively. A durable, leak-free roof is essential for protecting your assets and maintaining peace of mind, and we make it as easy as possible to afford the best solution for your home.
We give you clear, itemized pricing. Every estimate is written out line by line so you know exactly what you're paying for before work starts.
At K&M Roofing, we understand that trust is everything when choosing a contractor. With over 60 years of combined experience and a reputation built on integrity, transparency, and superior craftsmanship, we’ve earned the trust of property owners throughout the region. We are fully licensed, insured, and an Owens Corning Platinum Preferred Contractor, ensuring your project is in expert hands. Unlike out-of-town storm chasers, we’re a local company committed to long-term service, and our satisfied clients can vouch for our reliability and quality work.
The roofing industry, unfortunately, has its share of unreliable contractors. That’s why we prioritize transparency and accountability in every project. K&M Roofing provides detailed, written estimates, a clear scope of work, and absolutely no hidden fees. Unlike pop-up companies that follow storms, we have a long-standing reputation, hundreds of successful projects, and verifiable credentials. We encourage property owners to verify our licensing, read customer reviews, and compare us to other reputable contractors before making a decision.
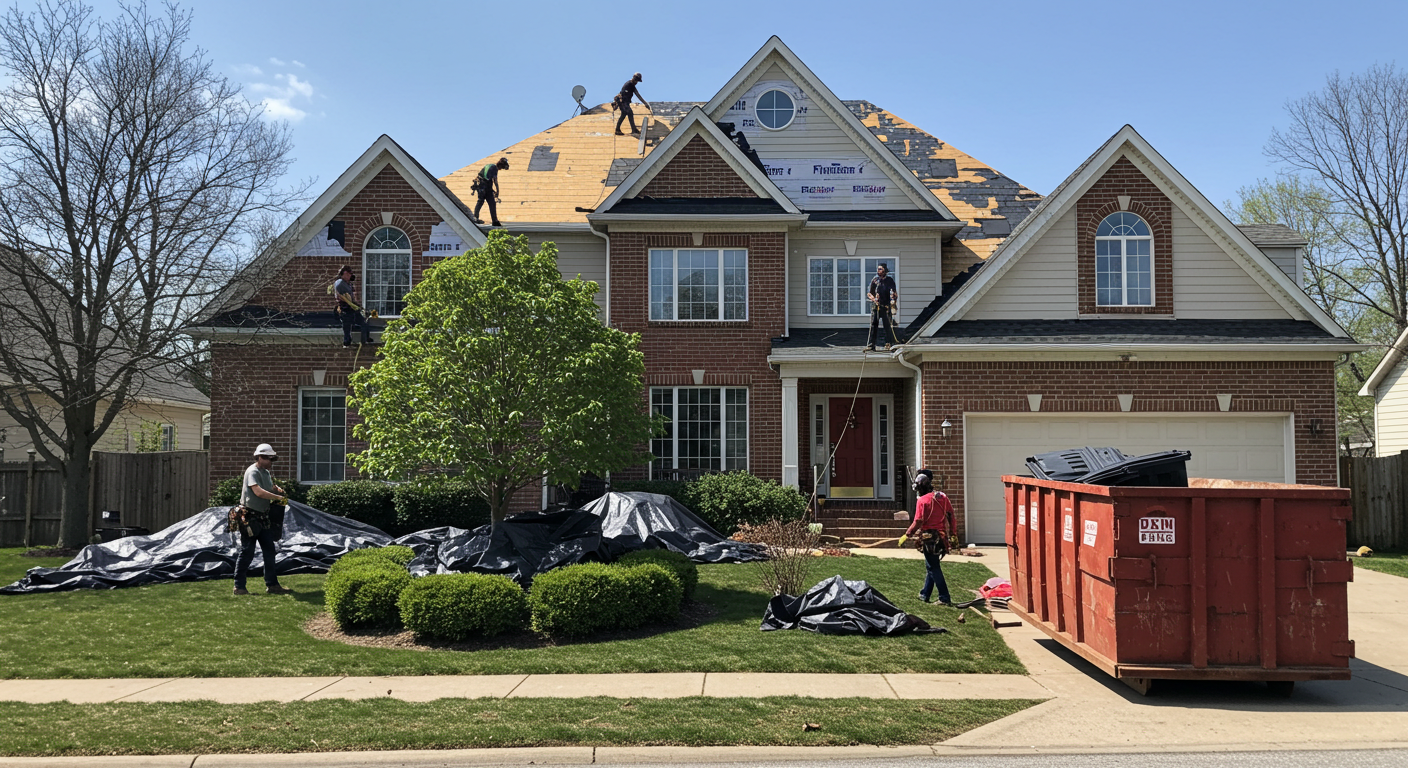
Yes. We know that roofing projects can disrupt usual activity, so we take every precaution to minimize downtime and protect your property. Our team secures job sites, safeguards HVAC units, and prevents debris from affecting your property. We use heavy-duty tarps, magnetic nail sweepers, and a strict cleanup process to ensure your property is left clean and hazard-free. Additionally, we coordinate with you to create a plan that allows for minimal disruption to your daily rhythms.
With K&M Roofing, there are no surprise costs or hidden fees. Our team provides detailed, itemized estimates upfront, so you know exactly what’s covered before work begins. If we uncover unforeseen issues—such as moisture damage or structural concerns—we bring them to your attention immediately and discuss the best solutions before proceeding. Our commitment is full transparency so you can make informed decisions without pressure or unexpected financial burdens.
Even if your roof isn’t actively leaking, hidden damage could be getting worse. Small cracks, seam separations, ponding water, and hail damage may not show immediate signs of failure, but over time, they weaken your roof’s structure. Left unaddressed, this can lead to interior leaks, insulation damage, mold growth, and costly repairs. Acting now helps prevent expensive damage to the quality of your property.
A professional inspection is the only way to know for sure. Signs that your roof may need replacement include: pooling water, deteriorating seams, membrane punctures, granule loss, or leaks. Even if everything looks intact, our team uses thermal drone scans and advanced moisture detection to identify hidden issues beneath the roof surface that could lead to major failures in the future.
Delaying necessary repairs can increase costs and reduce your roof’s lifespan. Small problems often escalate into major structural damage, causing higher energy costs, interior water damage, and safety risks for anyone on your property. A free inspection helps you understand the condition of the roof so you can decide what to do next.
Postponing roof repairs or replacement can cost more in the long run. Roofing material costs tend to increase year over year, making future replacements more expensive. A free inspection now helps document the current condition of the roof so you can plan on your own timeline. Ask your insurer about your policy if you have questions about storm damage.
An inspection soon after a storm helps document the damage while it is still easy to see. Ask your insurer about your policy and any timeframes that apply to you. We can inspect the property, take photos, and meet the adjuster on site. You work with your own insurer on next steps.
If your property has storm damage that your policy covers, involving your insurer can be worth it. Roof repairs and replacements are a major expense, and your policy is there to protect you. We start with a free inspection, document the damage with photos, and can meet the adjuster on site, so you can decide with clear information.
The timeline varies, and your insurer sets the steps. A typical sequence is: 1-3 days to contact your insurance provider; 1-2 weeks for the insurance adjuster to inspect the roof; 1-3 weeks for your insurer to review the documentation and possibly issue an initial payment; and 1-4 weeks after the work is complete for your insurer to possibly issue a final payment. We inspect, document the damage, and can meet the adjuster on site. You work with your own insurer on timing and next steps.
Insurance policies and premiums vary. Ask your insurer about your policy, including how storm damage is handled and any questions you have about next steps. We can inspect the property, document the damage with photos, and meet the adjuster on site. You work with your own insurer.
If you think damage was missed, you have options. We can provide a detailed damage report with photos and measurements, and a contractor on site during the adjuster’s inspection so the damage is documented. We inspect, document the damage, and can meet the adjuster on site. You work with your own insurer on next steps.
No—you can choose your own roofing contractor. Some insurers suggest preferred vendors, but the choice is yours. We inspect, document storm damage, and do the roofing. You work with your own insurer.
The timeline depends on the size of the property, the complexity of the roof system, and weather conditions. Most roofing repairs can take anywhere from a few days to several weeks. Factors such as material selection, existing damage, and the need for additional structural repairs can also affect the schedule. Before starting, we provide a clear project timeline so you know what to expect.
A successful roof replacement or repair requires a step-by-step approach to ensure long-term durability and minimal disruption. Our process includes:
- Identifying interior leak spots to determine the source of water infiltration.
- Comprehensive roof access & inspection to assess existing conditions.
- State-of-the-art drone inspection with thermal imaging to detect hidden moisture.
- Precision problem location & documentation for accurate repair recommendations.
- Addressing problematic areas with targeted repairs to extend the life expectancy of your entire roofing system.
Yes. We take extra precautions to ensure your property, including parking areas and landscaping, are protected throughout the project. Our team uses protective barriers, debris management systems, and thorough cleanup procedures to minimize disruption to the quality of your property.
If we uncover hidden structural damage, trapped moisture, or deteriorating insulation, we will immediately communicate our findings. We provide detailed documentation and solutions before proceeding so you can make informed decisions. Our goal is to prevent long-term damage and ensure your roof remains a reliable investment.
In most cases, it’s not necessary to be present during the installation. We work to minimize disruptions and can schedule work at convenient times for you. Our team will ensure all safety protocols are followed to protect your property while you continue with your daily activities. However, we recommend being available for any important communications or decisions that may arise during the process.
Yes, roof work can be loud, but we take measures to limit disturbances. We coordinate with property owners to establish quiet periods if necessary and use best practices to complete the work as efficiently as possible.
To ensure a smooth process, we recommend:
- Informing everyone who frequents the property about the project timeline.
- Securing valuable items or belongings that could be affected by vibrations.
- Designating an area for materials and crew access.
- Reviewing safety protocols with everyone at the property to ensure everyone feels comfortable and safe during the project.
Once your residential roof is installed or repaired, we:
- Conduct a final walkthrough and quality assurance inspection.
- Provide detailed documentation and warranty information for your records.
- Perform a thorough cleanup, including a magnetic nail sweep to ensure no debris is left behind.
Still have questions?
Contact us on our contact form or give us a call at (903) 870-6748 for any questions
Trusted and Certified by top industries nation wide



Get a free estimate
Our experts provide a free, no-obligation roof estimate and photograph the damage so you have a clear record.